Why Docker Desktop and WSL2 Eat 100GB+ on Windows (And How to Shrink ext4.vhdx Safely)
Every Windows developer using Docker Desktop or Windows Subsystem for Linux 2 (WSL2) eventually hits the same wall: you run docker system prune -a --volumes to delete 60 GB of unused container images, Docker reports that tens of gigabytes were reclaimed, and yet your Windows C: drive shows zero bytes of newly freed space.
According to Microsoft Learn's WSL disk space documentation, WSL2 stores each Linux distribution and Docker Desktop backend inside a dynamic Virtual Hard Disk file named ext4.vhdx. While Windows automatically expands ext4.vhdx whenever your Linux environment or Docker containers write new data, it does not automatically shrink the .vhdx file on your Windows host when files are deleted inside Linux.
In this guide, you will learn where Windows hides your largest .vhdx virtual disks, how to prune and compact them step by step, and how to use Scan My Disk to spot runaway virtual disks and compare before-and-after scan snapshots in seconds.
Where Windows 10 & 11 Hide Docker and WSL2 ext4.vhdx Files
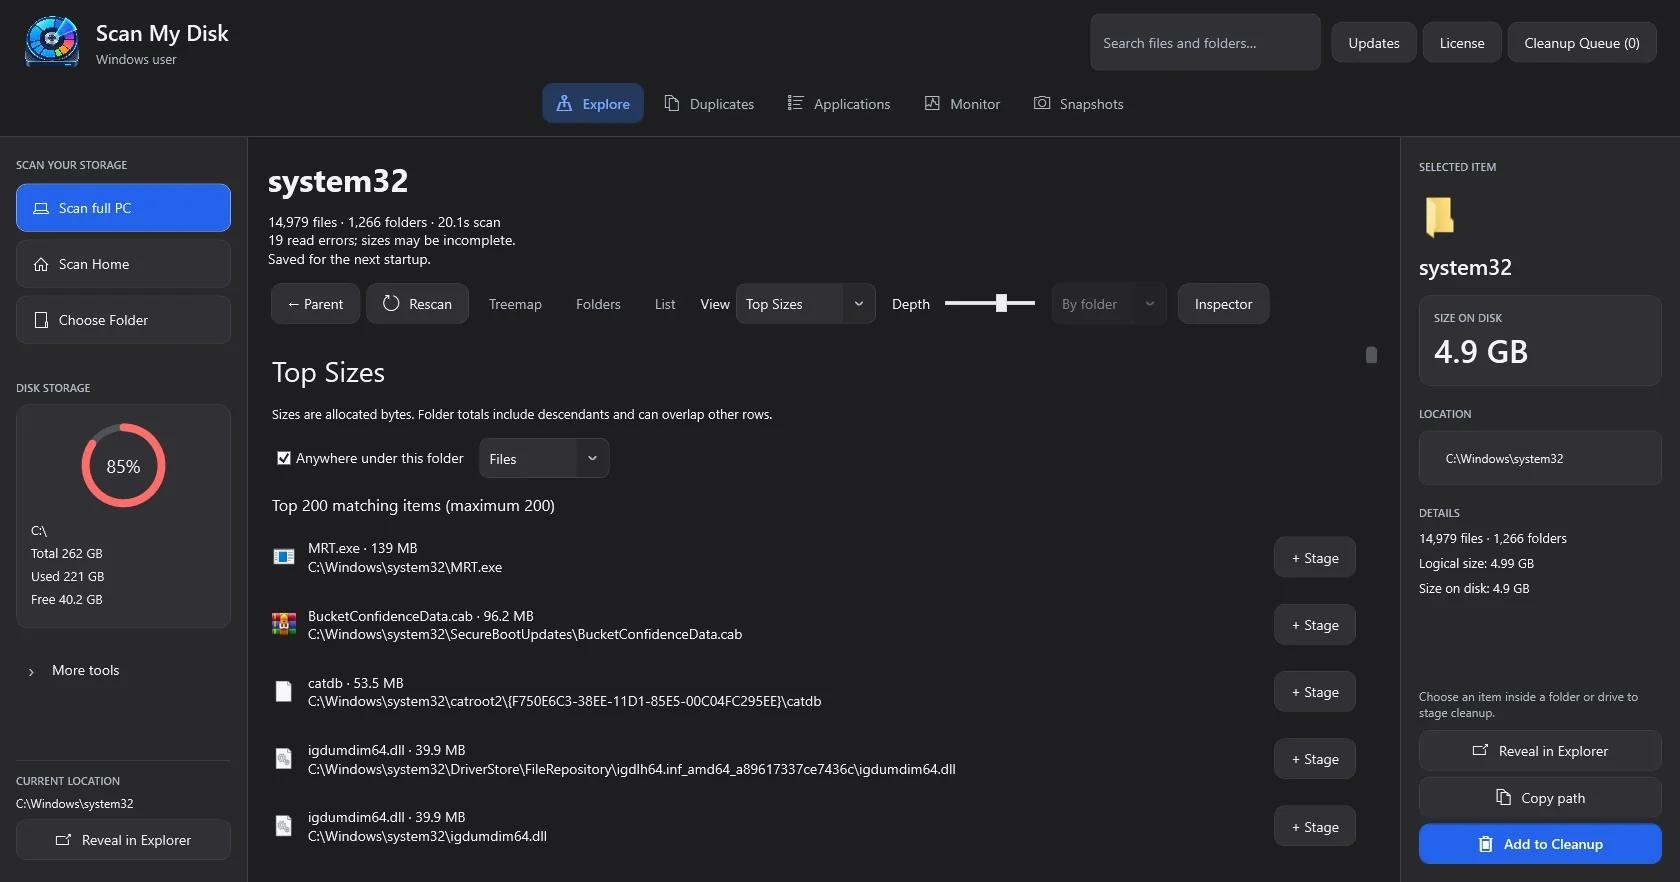
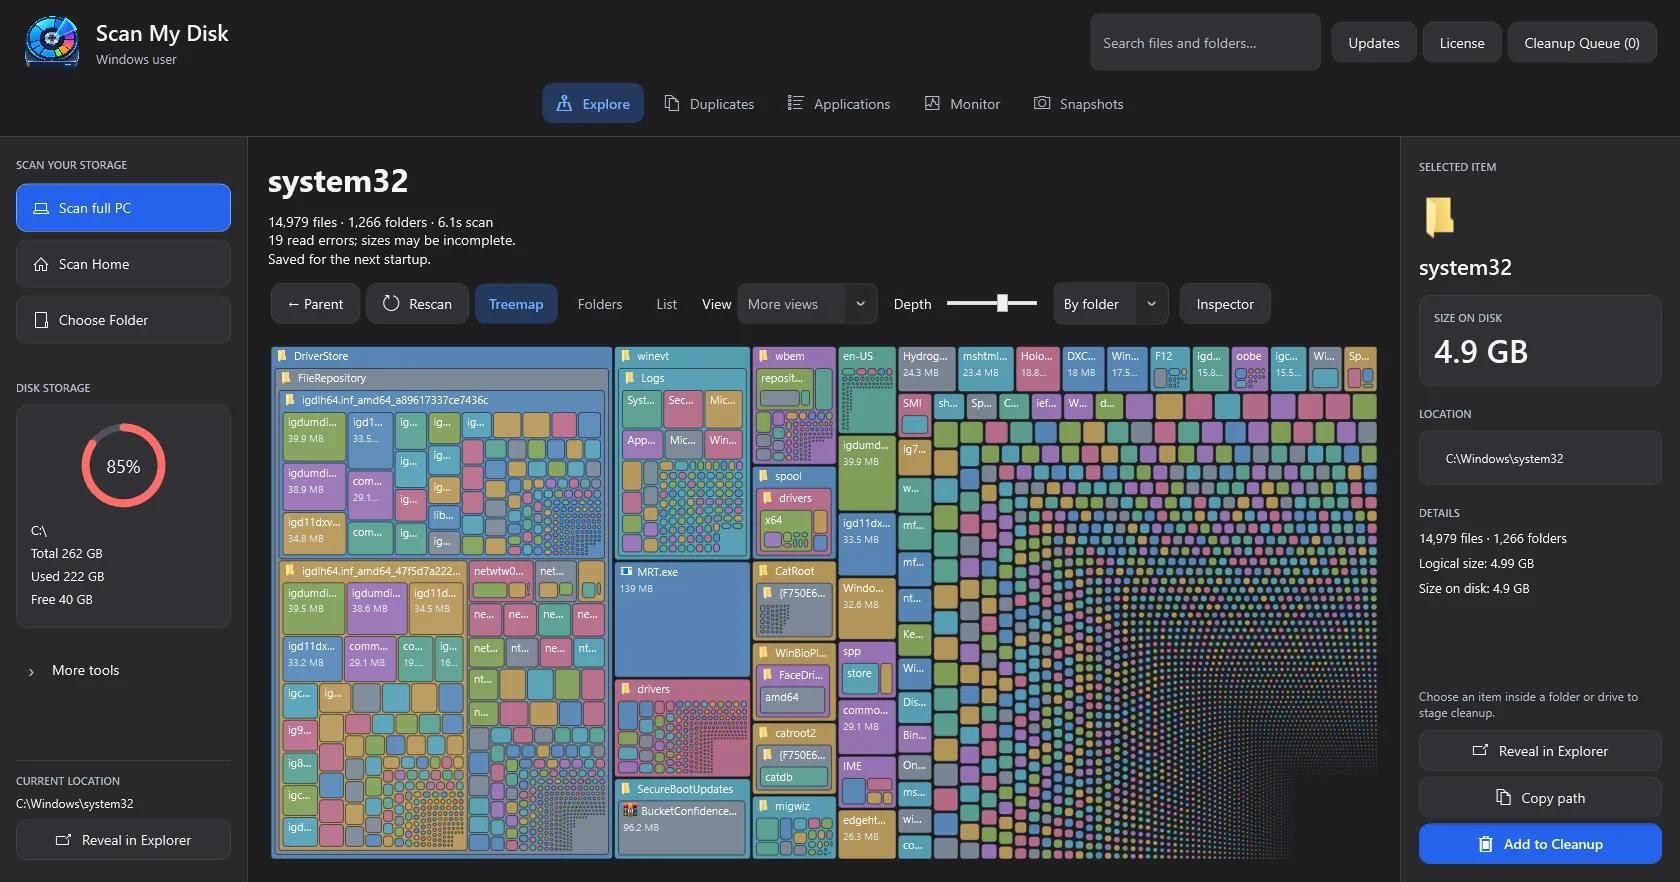
Because virtual disk images live deep inside hidden AppData\Local subdirectories, standard File Explorer searches often miss them. Depending on your WSL2 and Docker Desktop versions, your largest .vhdx files usually reside in one of these paths:
| Virtual Disk Target | Default Windows File Path | Typical Size Range |
|---|---|---|
| Docker Desktop Data Store | %LOCALAPPDATA%\Docker\wsl\data\ext4.vhdx or %LOCALAPPDATA%\Docker\wsl\disk\docker_data.vhdx | 20 GB – 150 GB+ |
| Docker Desktop Distro | %LOCALAPPDATA%\Docker\wsl\distro\ext4.vhdx | 1 GB – 5 GB |
| Ubuntu on WSL2 (Store Install) | %LOCALAPPDATA%\Packages\CanonicalGroupLimited.Ubuntu*\LocalState\ext4.vhdx | 10 GB – 100 GB+ |
| Custom Imported WSL Distros | Custom install path specified during wsl --import | 10 GB – 80 GB |
Step-by-Step Walkthrough: Reclaiming Space from Docker & WSL2
To actually return free gigabytes to your Windows C: drive, you must first delete unused blocks inside the Linux/Docker environment and then compact the .vhdx container on the Windows host.
Step 1: Prune Unused Docker Images, Build Cache, and Volumes
Before shutting down WSL2, clear out orphaned containers, dangling images, and buildx caches inside Docker. Open PowerShell or Windows Terminal and run:# Remove stopped containers, unused networks, dangling images, and build cache
docker system prune -a --volumes
If you also have large log files or apt caches inside your Ubuntu WSL2 distro, open your WSL shell and run:sudo apt-get clean && sudo apt-get autoremove -y
sudo journalctl --vacuum-time=3d
Step 2: Shut Down All Running WSL2 Instances
You cannot compact a .vhdx file while WSL2 or Docker Desktop has it mounted. Quit Docker Desktop from the system tray, then open an elevated PowerShell (Run as Administrator) window and verify all distributions are stopped:wsl.exe --shutdown
wsl.exe --list --verbose
Confirm that every distribution listed under STATE displays Stopped.
Step 3: Compact ext4.vhdx Using diskpart or Hyper-V PowerShell
As detailed in Microsoft community troubleshooting guides for WSL disk consumption, you can compact the virtual disk using Windows' native diskpart utility (which works on both Windows Home and Windows Pro):diskpart
Inside the DISKPART> prompt, enter the following commands (replacing <YourUsername> with your Windows username):select vdisk file="C:\Users\<YourUsername>\AppData\Local\Docker\wsl\data\ext4.vhdx"
attach vdisk readonly
compact vdisk
detach vdisk
exit
If you run Windows 10/11 Pro or Enterprise with Hyper-V enabled, you can run a single PowerShell one-liner instead:Optimize-VHD -Path "
$env:LOCALAPPDATA\Docker\wsl\data\ext4.vhdx" -Mode Full
How to Track & Clean VHDX Bloat Effortlessly with Scan My Disk
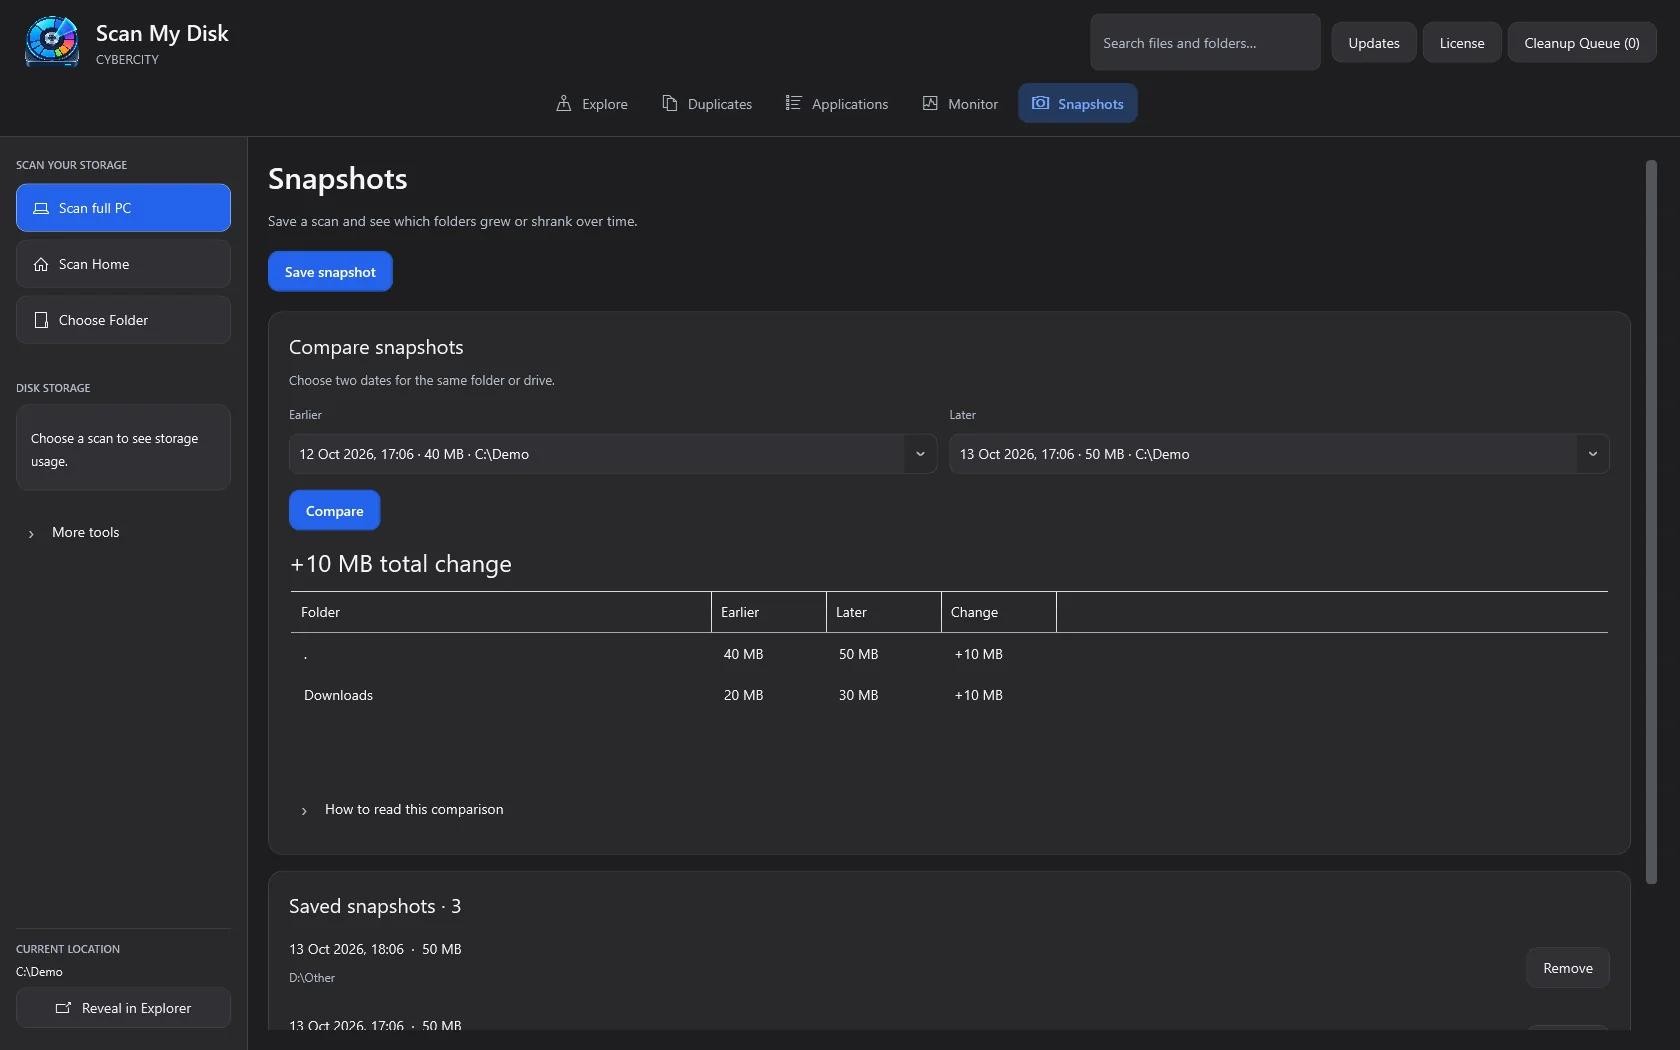
Manually hunting down every .vhdx path across multiple WSL distros and Docker installations is tedious—especially when a single forgotten container volume or Android emulator image silently fills your SSD. Scan My Disk streamlines the entire workflow for Windows developers:
- Pre-Configured Docker
VHDX& Developer Profiles: Launch Scan My Disk and select the built-in cleanup presets for Docker virtual disk files (VHDX), Visual Studio caches, Gradle build directories, andnode_modulesto surface every massive developer artifact immediately. - Top Sizes & Treemap Views: Switch to the Top Sizes view or Treemap view to see whether
ext4.vhdx,pagefile.sys, or a forgotten VM snapshot is the biggest single file on your drive. - Scan Snapshots to Verify Reclaimed Space: Save a lightweight Scan Snapshot before running your Docker prune and
diskpartcompaction, then compare it against a post-cleanup scan to see the exact gigabytes recovered per directory. - Live System Monitor Included: Keep an eye on real-time CPU usage, memory pressure, network transfer rates, and free volume space while your containers run. Get a lifetime license on the Scan My Disk Download & License page for a $5 one-time payment (no subscription ever). If you also develop on macOS, check out our System Data Mystery Guide.
Frequently Asked Questions (FAQ)
Why didn't docker system prune free up space on my Windows C: drive?
`docker system prune` deletes files inside the Linux filesystem hosted within `ext4.vhdx`, marking those blocks as free for future Docker containers. However, Windows still sees the outer `ext4.vhdx` file at its maximum high-water-mark size until you compact the virtual disk using `diskpart` or `Optimize-VHD`.
Is compacting ext4.vhdx with diskpart safe for my existing containers?
Yes, provided you first quit Docker Desktop, run wsl --shutdown, and attach the virtual disk as readonly before running compact vdisk. Compacting only zeroes out unused blocks and does not alter active Linux files or container volumes.
Can I enable automatic sparse VHDX shrinking in WSL2?
Recent WSL2 releases support experimental sparse VHD mode (wsl --manage <Distro> --set-sparse true), though Microsoft notes it can occasionally impact disk write performance. Using periodic visual checks with Scan My Disk and manual compaction remains the most reliable approach.
Continue Reading
Scan My Disk Review: A $5 Windows Disk Space Analyzer That Makes You Look Before You Delete
A hands-on look at Scan My Disk, a $5 lifetime Windows disk analyzer with 8 views, duplicate finder, snapshots and a cleanup queue.
How to Safely Clean AppData and ProgramData Leftovers on Windows 10 & 11
Running out of C: drive space? Learn which folders inside AppData and ProgramData are safe to delete on Windows 10 & 11, and how Scan My Disk removes leftover app junk for $5.
The Developer's Windows Disk Cleanup Guide: Reclaim 50GB+ from node_modules, Gradle & Visual Studio Caches
Out of SSD space on your Windows dev machine? Learn how to find and purge dormant node_modules folders, Android Gradle caches, and Visual Studio build artifacts safely.